
I upgraded to Windows 10 this week.
First to go were my two development VMs, x64 and x86, both formerly Windows 8.1.
Then followed Alfons, my Surface Pro 2.
I tried upgrading my little HP tablet, but it didn't work so I am keeping it Windows 8.1 for the moment.
My MacBook Air will have to follow next.
Some of the new features of Windows 10 that I personally like are listed here. The ony feature I don't like is that it doesn't support existing ARM-based Windows devices like my Surface RT 2 which will also remain Windows 8.1.
- New start menu which is a bit like the old Windows 7 start menu
- Support for CardDAV and CalDAV (and Windows 10 configured its calendar, address book and email program automatically)
- Windows Runtime (Metro) programs now run in windows
- Windows 10 behaves differently depending on whether it is used on a desktop/laptop or tablet/phone type computer
- Support for Raspberry Pi 2
After building my VMs and upgrades I installed Windows 10 "Internet of Things" on a Raspberry Pi 2.
Windows 10 IoT for several devices comes as an MSI file and requires installation to an SD card.
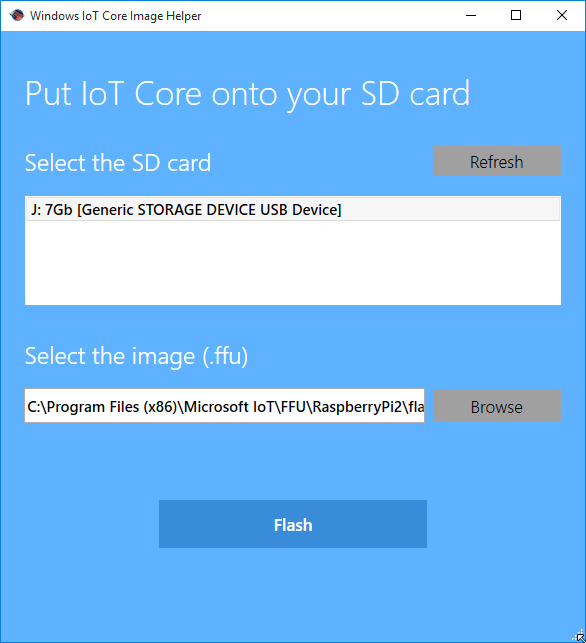
After installing the MSI on a Windows 10 computer, the Windows IoT Core Image Helper is used to install Windows 10 on an SD card.
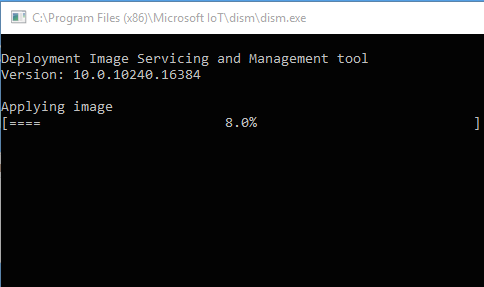
The installation process doesn't take long.
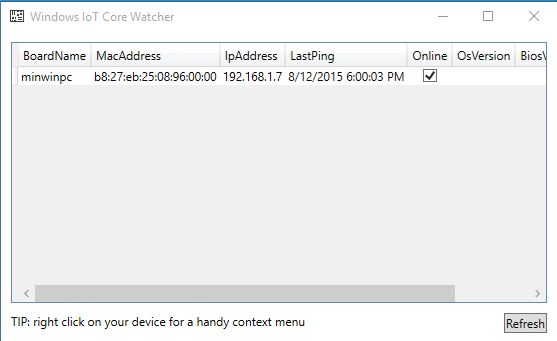
And the Windows IoT Core Watcher tool displays information about Windows IoT machines it finds on the network.
The default password for the new installation's administrator account is p@ssw0rd. The "0" is a zero, not the letter oh.
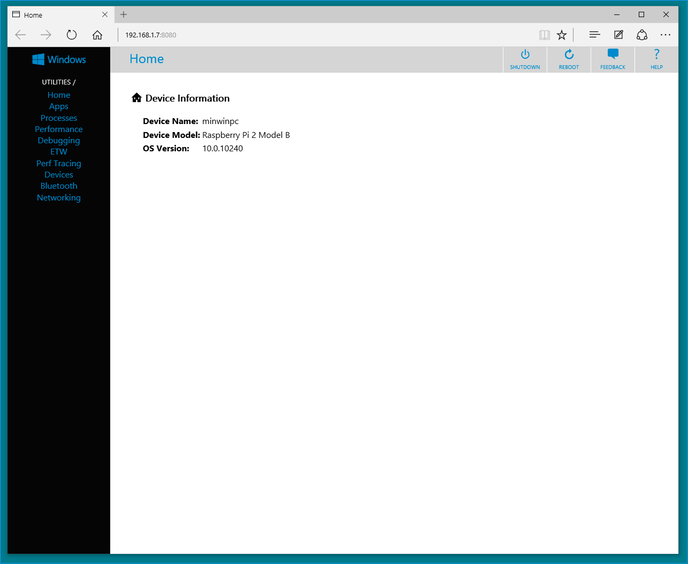
You can check on the server on a Web site exported by the installation's Web server.
And you can log in via PowerShell.
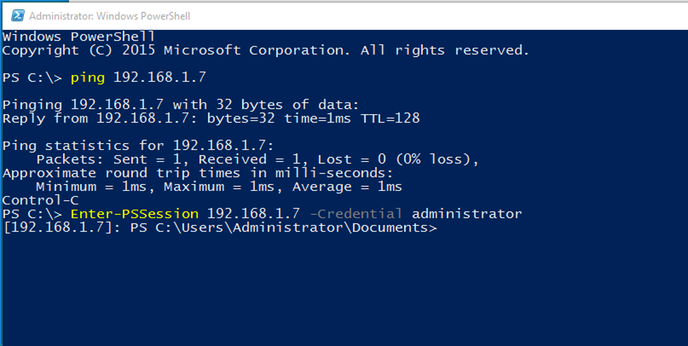
Thence you can configure user accounts and the device's host name.
net user administrator mynewadministratorpassword
net user hubert hubertspassword /add
net localgroup administrators /add hubert
setcomputername hubertscomputer
These examples should give you an idea of what to do.
The IoT installation does offer some limited WMI support, but lacks the Get-WmiObject cmdlet. For example, system information can be got this way.
Get-CimInstance Win32_Processor|Format-List
Caption : ARM Family 7 Model C07 Revision 5
DeviceID : CPU0
Manufacturer : A
MaxClockSpeed : 600
Name : ARM Family 7 Model C07 Revision 5
SocketDesignation : Socket
To compare, the same command run on a Surface RT and a 64 bit Windows 10 VM.
Caption : ARM Family 7 Model C0F Revision 202
DeviceID : CPU0
Manufacturer : NVIDIA(R)
MaxClockSpeed : 1708
Name : NVIDIA(R) TEGRA(R) 4 Quad Core CPU
SocketDesignation : CPU
Caption : Intel64 Family 6 Model 60 Stepping 3
DeviceID : CPU0
Manufacturer : GenuineIntel
MaxClockSpeed : 3490
Name : Intel(R) Core(TM) i7-4771 CPU @ 3.50GHz
SocketDesignation : CPU socket #0
Next I will try to figure out what this thing can actually do for me.